The Guide to Resin Nail Refills: Why, When, and How to Maintain Your Enhancements
I remember the first time I let my resin nails grow out too long. The apex had shifted, the free edge was no longer balanced, and one nail snapped at the stress point. I had assumed that since they looked fine, they were fine. I was wrong.
Resin nails—whether hard gel or builder gel—are not a one‑time application. They are a living enhancement that requires regular maintenance. Here is everything I have learned about the refill process, why it matters, and how it keeps your nails strong and beautiful.
What Is a Resin Nail Refill?
A resin nail refill—often called a “fill” or “infill”—is the process of filling in the gap between the cuticle and the existing resin enhancement as the natural nail grows. It also involves rebalancing the structure of the nail and reinforcing any weak areas that may have developed during wear.
Refills are performed every 2–4 weeks, depending on how quickly the natural nail grows. The goal is to maintain the integrity of the enhancement, not to start from scratch. A proper refill extends the life of the resin nails while keeping the natural nail healthy and protected.
Why Regular Refills Are Essential?
Natural nail growth is the primary reason. The average fingernail grows about 3 millimeters per month. As the nail grows, the gap between the cuticle and the enhancement widens. This creates a weak point where the enhancement is no longer bonded to the natural nail, increasing the risk of lifting and bacterial or fungal infections.
The balance point shifts. The apex—the thickest point of the nail—is designed to be the stress‑bearing part. As the nail grows, the apex moves toward the free edge, making the nail tip heavier and more prone to breaking. A refill restores the correct structural balance, reducing the risk of breakage.
Lifting is addressed. Even with perfect application, resin nails can lift at the cuticle over time due to natural oils and daily wear. A refill allows the technician to remove the lifted area and re‑bond the new resin securely, preventing moisture from seeping underneath.
Shape and length are maintained. Refills keep the shape and length consistent, eliminating the need to file down the enhancement entirely or start over. This saves time, money, and the integrity of the natural nail.
Nail health is protected. Refills allow for the inspection of the natural nail beneath the enhancement. Any issues—discoloration, thinning, or signs of infection—can be spotted and addressed early.
The Refill Process: Step by Step
A professional refill follows a precise sequence to ensure a seamless, strong result.
Step 1: Preparation and cleaning. The nails are cleaned and sanitised. Any old polish or top coat is removed. The technician assesses the condition of the existing enhancement and the natural nail.
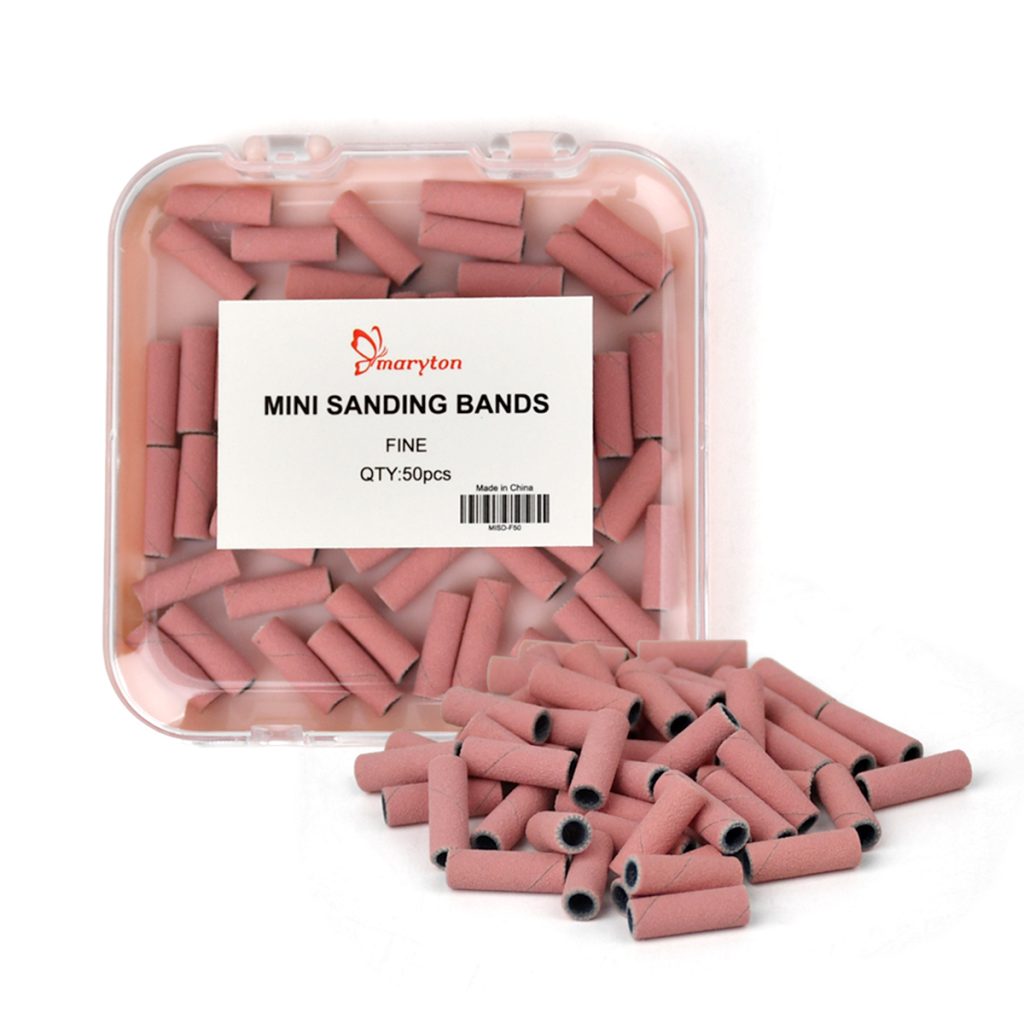
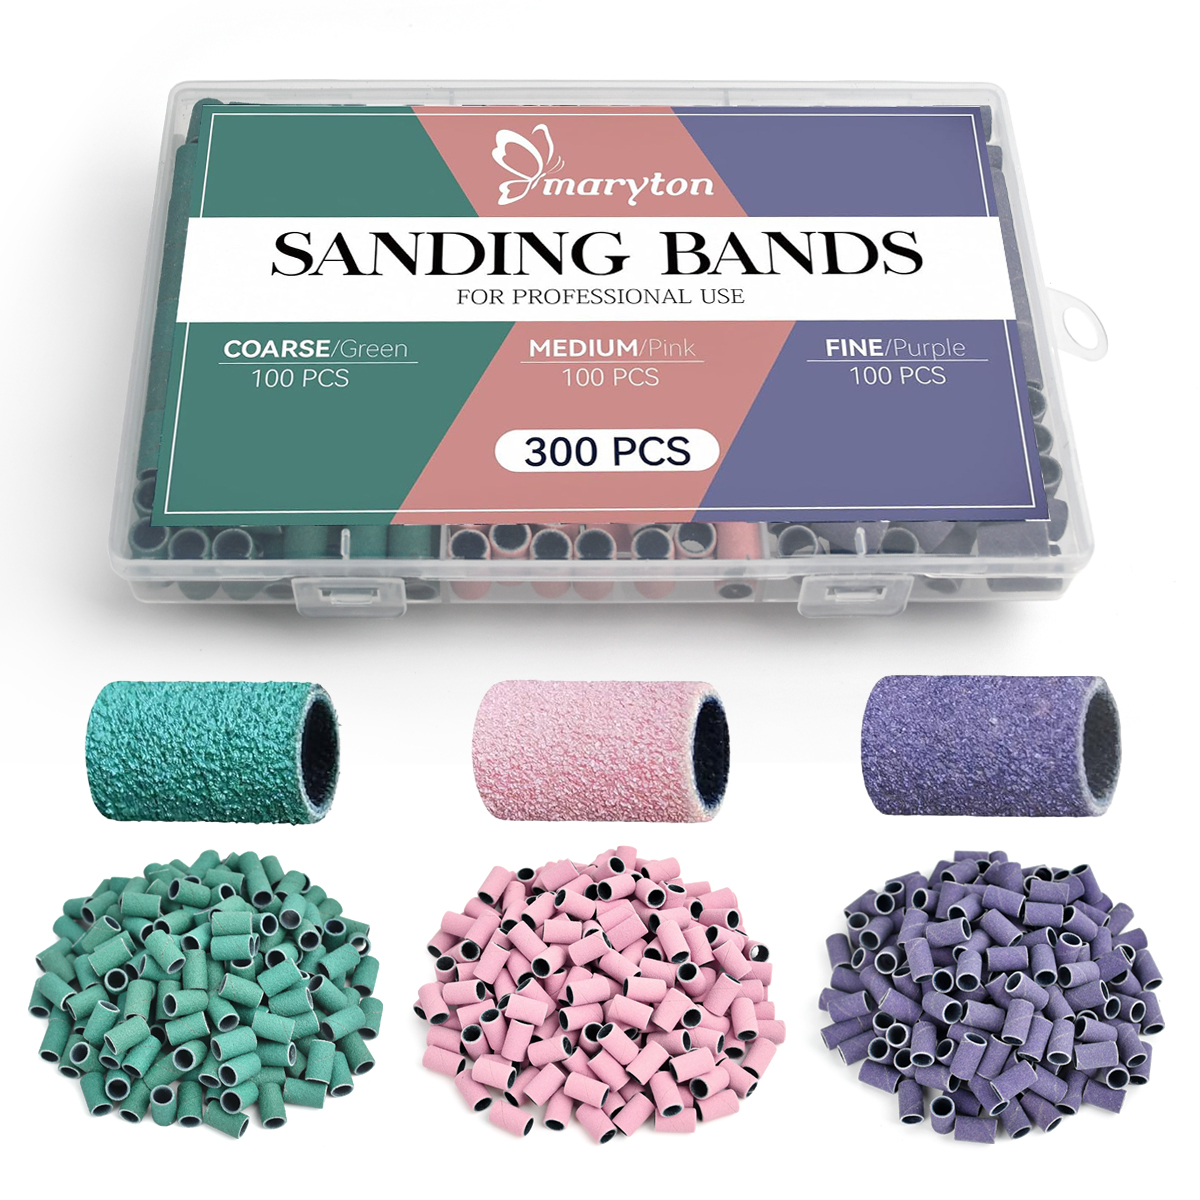
Step 2: Filing the lifted areas. Using a coarse sanding band, the technician gently removes any lifted resin and reduces the bulk of the enhancement near the cuticle. This creates a smooth transition between the existing resin and the natural nail.
Step 3: Surface preparation. The new growth area (the exposed natural nail) is lightly buffed to remove shine. The entire nail is cleansed with a dehydrator to remove oils, dust, and moisture. This step is non‑negotiable—it ensures the new resin bonds properly.
Step 4: Applying the new resin. Using a brush, the technician applies a thin layer of resin gel to the growth area and blends it seamlessly into the existing resin. A bead of builder gel is placed at the apex to rebuild the stress point. The gel is shaped, self‑leveled, and cured under a UV/LED lamp.
Step 5: Shaping and refining. Once the new resin is cured, the enhancement is filed and shaped to create a smooth, balanced silhouette. The apex is refined, and the free edge is shaped to the desired length and style.
Step 6: Finishing. The surface is buffed to a smooth finish. Colour, gel polish, or a high‑gloss top coat is applied and cured. Cuticle oil is applied to hydrate the surrounding skin.
The Advantages of Resin Nail Systems
Resin nails offer several distinct advantages over other enhancement systems, especially when maintained with regular refills.
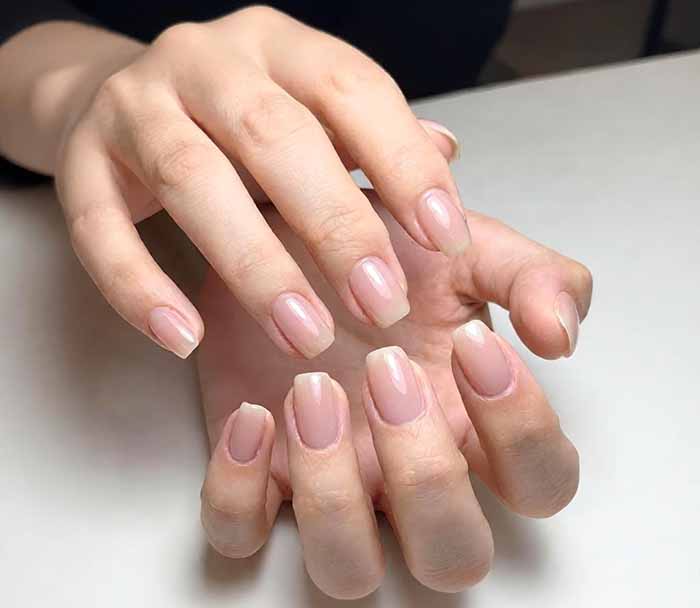
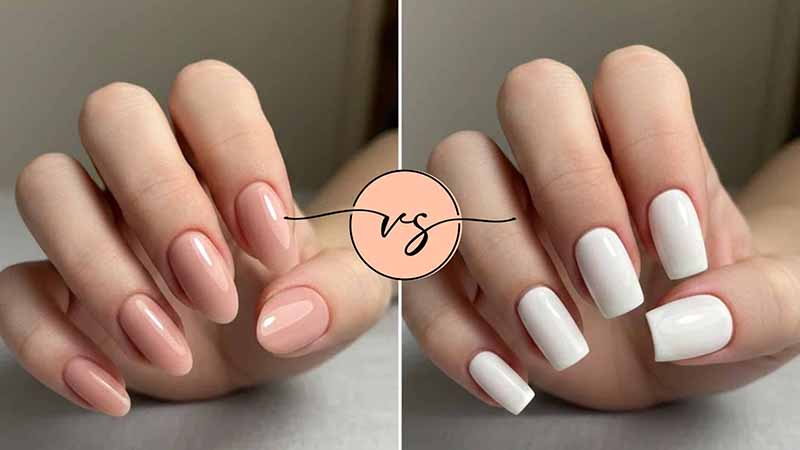
Natural appearance. Resin gel has a natural, glossy finish that mimics the look of healthy nails. It is available in sheer, nude, and opaque shades, allowing for a seamless, natural look.
Lightweight and flexible. Resin is lighter and more flexible than acrylics, making it more comfortable to wear and less prone to breaking. This flexibility also reduces stress on the natural nail.
Odor‑free. Unlike acrylics, which have a strong chemical smell, resin gel is virtually odor‑free, making it more pleasant for both the technician and the client.
Gentle on natural nails. Resin gel can be soaked off with acetone, making it a gentler option for removal. When applied and maintained correctly, it protects the natural nail from breakage.
Durable and long‑lasting. A properly maintained resin set can last weeks without chipping, lifting, or breaking, making it ideal for clients with busy lifestyles.
Versatile. Resin can be used for overlays, extensions, repairs, and even nail art. It can be sculpted into any shape or length.
The Bottom Line
Resin nail refills are not optional—they are essential. They maintain the structural integrity of the enhancement, protect the natural nail, and extend the life of the set. Regular refills save time, money, and the health of the natural nail. Whether you are a professional or a client, understanding the importance of the refill process is key to enjoying beautiful, durable, and healthy resin nails.
Read also: The Beginner’s Guide to Painting Your Nails: Essential Tools, Steps, and Common Mistakes

One thought on “The Guide to Resin Nail Refills: Why, When, and How to Maintain Your Enhancements”