The Beginner’s Guide to Painting Your Nails: Essential Tools, Steps, and Common Mistakes
I still remember my first attempt at painting my nails. I picked a gorgeous deep red, sat down with a bottle of polish and a dream, and 20 minutes later, my fingers looked like I’d been in a minor accident. Polish was everywhere except my nails, and what did make it onto the nail was thick, streaky, and lumpy.
That was years ago. Since then, I’ve learned that a perfect at‑home manicure is not about talent—it’s about tools, technique, and a little patience.
If you are new to DIY nails, this guide is for you. Here is everything I wish someone had told me before I started.
Essential Tools for Beginners
Before you even open a bottle of polish, gather these basics. They make the difference between a frustrating experience and a professional‑looking result.
Nail polish remover and cotton pads. For cleaning up mistakes and removing old polish. Choose an acetone‑free remover for regular polish; it’s gentler on your nails.
Nail file (180‑240 grit). For shaping your nails. A fine‑grit file is gentle on natural nails and prevents peeling.
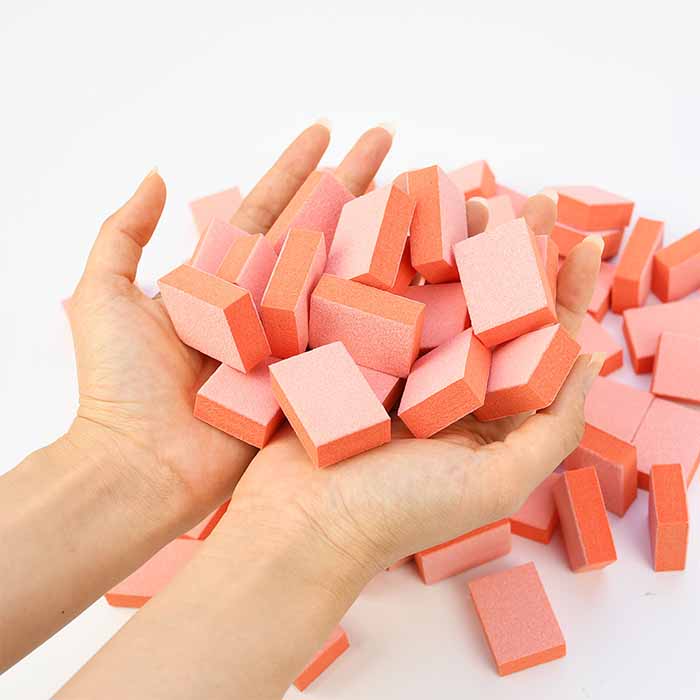
Buffer block. For smoothing ridges and creating a slightly textured surface for the polish to grip.
Cuticle pusher. A wooden orangewood stick or a metal pusher for gently pushing back cuticles.
Base coat. Non‑negotiable. It prevents staining, creates adhesion, and smoothes the nail surface.
Top coat. Seals everything, adds shine, and dramatically extends wear.
A good quality nail polish. You do not need the most expensive brand, but avoid the cheapest—they are often thin, streaky, and chip quickly.
Cleanup brush. A small angled brush dipped in remover is your best friend for fixing mistakes.
Quick‑dry drops or spray. Optional but helpful for speeding up drying time.
How to Choose the Right Nail Polish
Choosing a polish is about more than just picking a colour you like. Quality matters.
Check the consistency. A good polish should be smooth and fluid, not thick and gloopy. If it looks separated or stringy, skip it. For beginners, a medium‑viscosity polish is easiest to control—not too runny, not too thick.
Look at the brush. The brush is your applicator. A rounded or flat brush with a tapered edge is ideal for getting close to the cuticle without flooding it. Avoid brushes that are too wide or too thin for your nail size.
Consider the finish. Cream polishes (opaque, no shimmer) are the easiest for beginners to apply evenly. Sheer polishes are forgiving but require more coats. Glitter and metallic polishes are trickier—they can be streaky and harder to remove.
Test the opacity. A good polish should cover your nail in two thin coats. If it takes four or five coats to become opaque, the polish is too sheer and will take forever to dry.
Pre‑Treatment: The Most Important Step
Skipping preparation is the #1 reason manicures fail. Here is how to prep properly.
Step 1: Remove old polish. Use remover and cotton pads to take off any existing polish. Pay attention to edges and corners.
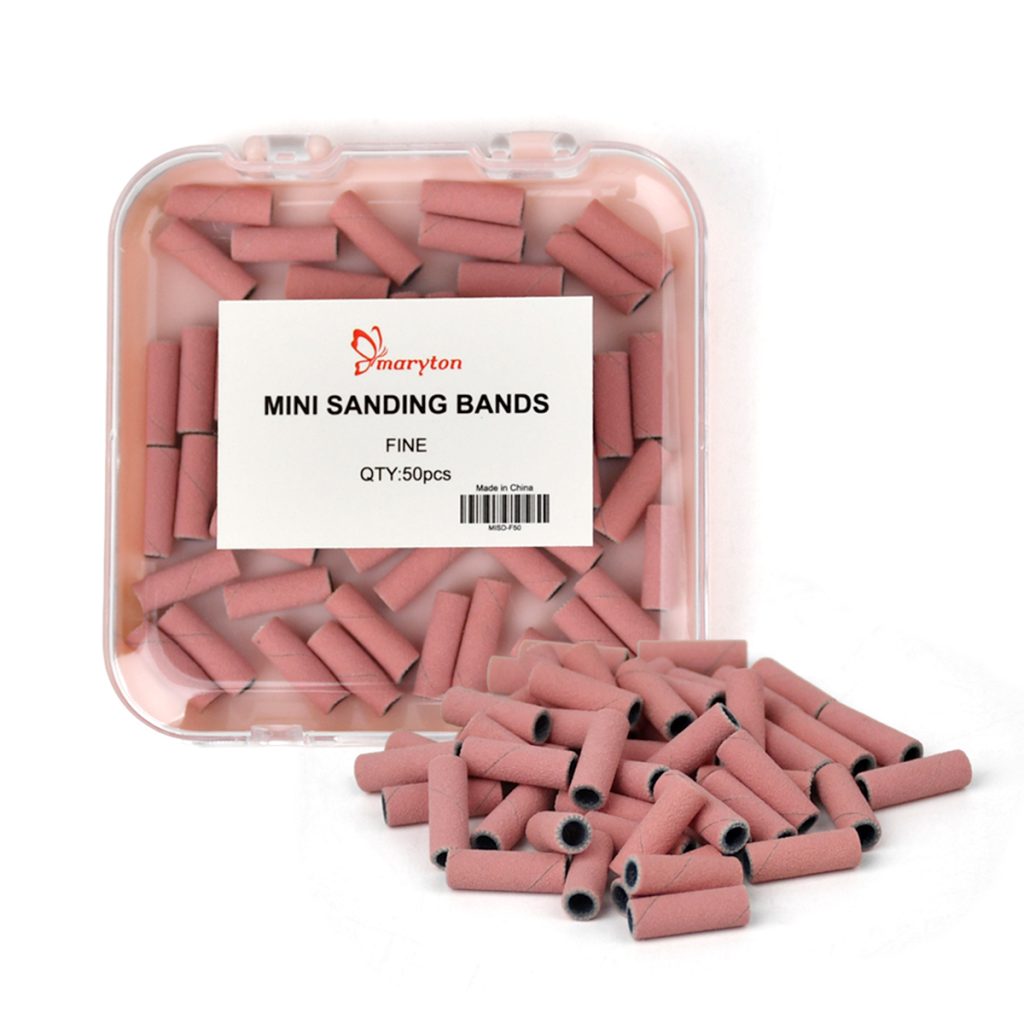
Step 2: Shape your nails. File to your desired length and shape. File in one direction only—sawing back and forth creates micro‑tears that lead to peeling. Mini sanding bands allows for better handling of the nail edges.
Step 3: Push back cuticles. Soak your hands in warm water for a few minutes, then gently push back cuticles with a wooden stick. Never cut living cuticle—it is your nail’s protective seal.
Step 4: Buff lightly. Use a fine buffer to remove shine and smooth ridges. Two or three gentle passes are enough. Do not over‑buff.
Step 5: Cleanse. Wipe each nail with rubbing alcohol on a lint‑free wipe. This removes oils, dust, and residue. After this step, do not touch your nails.
Step‑by‑Step: Perfect Polish Application
Now that your nails are prepped, follow these steps for a flawless finish.
Step 1: Apply base coat. Start with a thin, even layer of base coat. Cap the free edge—run the brush along the nail tip—to seal it. Let it dry for 1‑2 minutes.
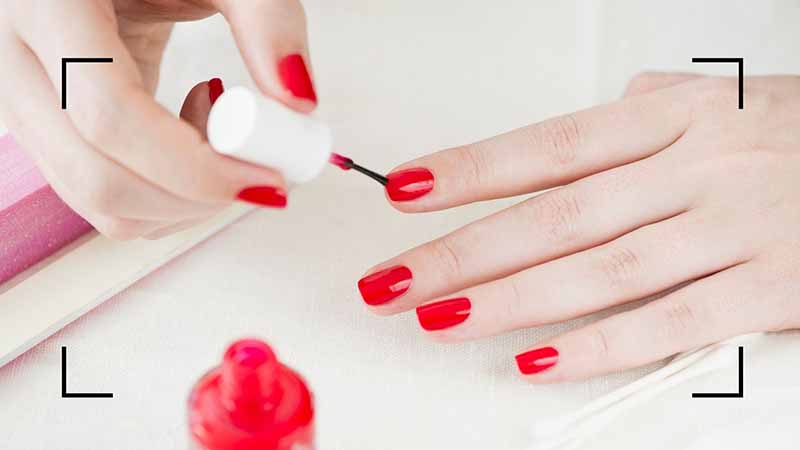
Step 2: Apply the first colour coat. Wipe one side of the brush against the bottle neck to remove excess polish. Place the brush at the centre of your nail, just above the cuticle. Push gently toward the cuticle (without touching it), then pull the brush smoothly toward the tip. Repeat on each side of the nail. The first coat will look streaky—that is normal.
Step 3: Apply the second colour coat. Once the first coat is dry to the touch (2‑3 minutes), apply a second thin coat using the same technique. This coat should give you even, opaque coverage. If needed, a third thin coat can be applied for deeper colour.
Step 4: Apply top coat. When the colour is completely dry to the touch, apply a generous layer of top coat. Cap the free edge again. This seals everything and adds shine.
Step 5: Clean up. Use a small brush dipped in remover to clean any polish that has strayed onto your skin or cuticles.
How Long Does Nail Polish Take to Dry?
This is one of the most common questions—and the answer depends on the products.
Touch‑dry (safe for light activities): 3‑5 minutes for thin layers. You can gently touch the surface, but it is still soft underneath.
Set‑dry (safe for normal use): 30‑60 minutes. The polish is firm but not fully hardened.
Fully cured (maximum durability): 24 hours. Nail polish continues to harden over a full day. This is why even “dry” polish can dent if you press too hard.
For best results, wait at least an hour before showering, doing dishes, or any activity that exposes your nails to water. And remember: thin layers dry faster than thick layers.
Common Mistakes Beginners Make
Skipping base coat. This is the most common error. Base coat is not optional—it prevents staining, helps adhesion, and creates a smooth surface.
Applying thick coats. Thick layers take forever to dry, trap bubbles, and peel easily. Two or three thin coats are always better than one thick coat.
Shaking the bottle. Shaking creates bubbles that end up on your nails. Roll the bottle gently between your palms to mix.
Flooding cuticles. Polish on the skin lifts and chips. Leave a hairline gap between the polish and your cuticle.
Rushing between coats. If you do not let each layer dry, you will pull the previous layer off when applying the next. Wait 2‑3 minutes between coats.
Skipping the top coat. Top coat seals everything and extends wear. Without it, your manicure will chip quickly.
Using your nails before they are fully cured. Even if they feel dry, they are still soft. Avoid anything that puts pressure on your nails for the first few hours.
The Bottom Line
A perfect at‑home manicure is achievable with the right tools, a little practice, and patience. Start with good prep, use thin layers, and never skip base or top coat. Your first attempt might not be perfect—mine certainly wasn’t—but each time you try, you will learn something new. And before long, you will be painting your nails with confidence, saving time and money, and enjoying the satisfaction of a beautiful, long‑lasting manicure that you did yourself.